


Japanese 3DS LL Modding Guide
Since I modded my personal 3DS LL, I realised there are issues when it comes to modding Japanese-region 3DS consoles.
With the most common issue involving the system freezing when returning to the home menu on any of these apps: Game Notes, Friends, Notifications, Internet and Miiverse. Even without directly interacting with these apps you can still find yourself losing the game progress when interacting with in-game items redirecting to a browser or another app. A way to fix this issue is to ensure that you reformat the SD card after the region change to prevent console freezes, so should be done in this order:
This tutorial primarily focuses on the LL edition of the 3ds, not the "new 3ds LL" however, as it doesn't seem to be affected. I have yet to try this on the original 3ds either. This is going to be demonstrated on Windows.
^ Some of the many helpful resources used for the modding
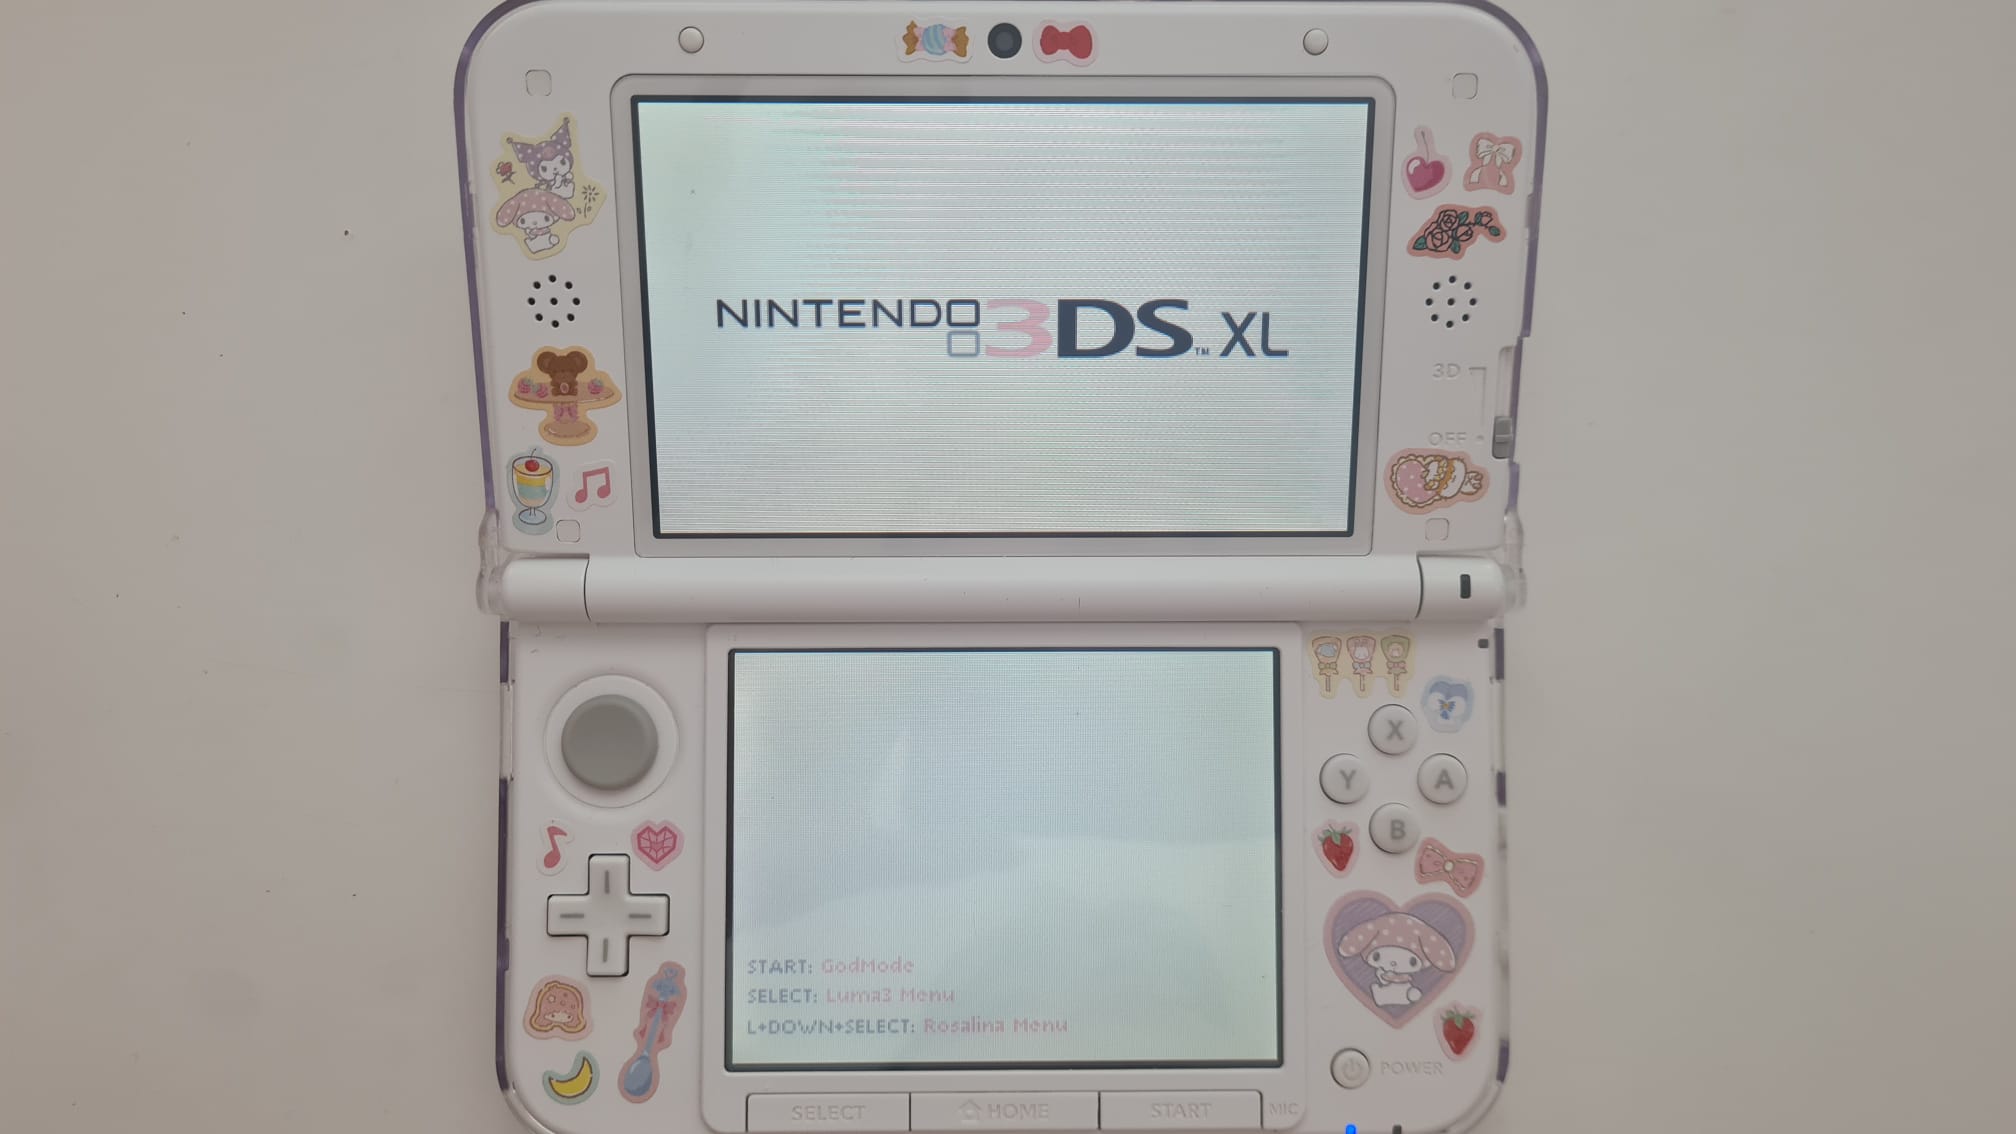
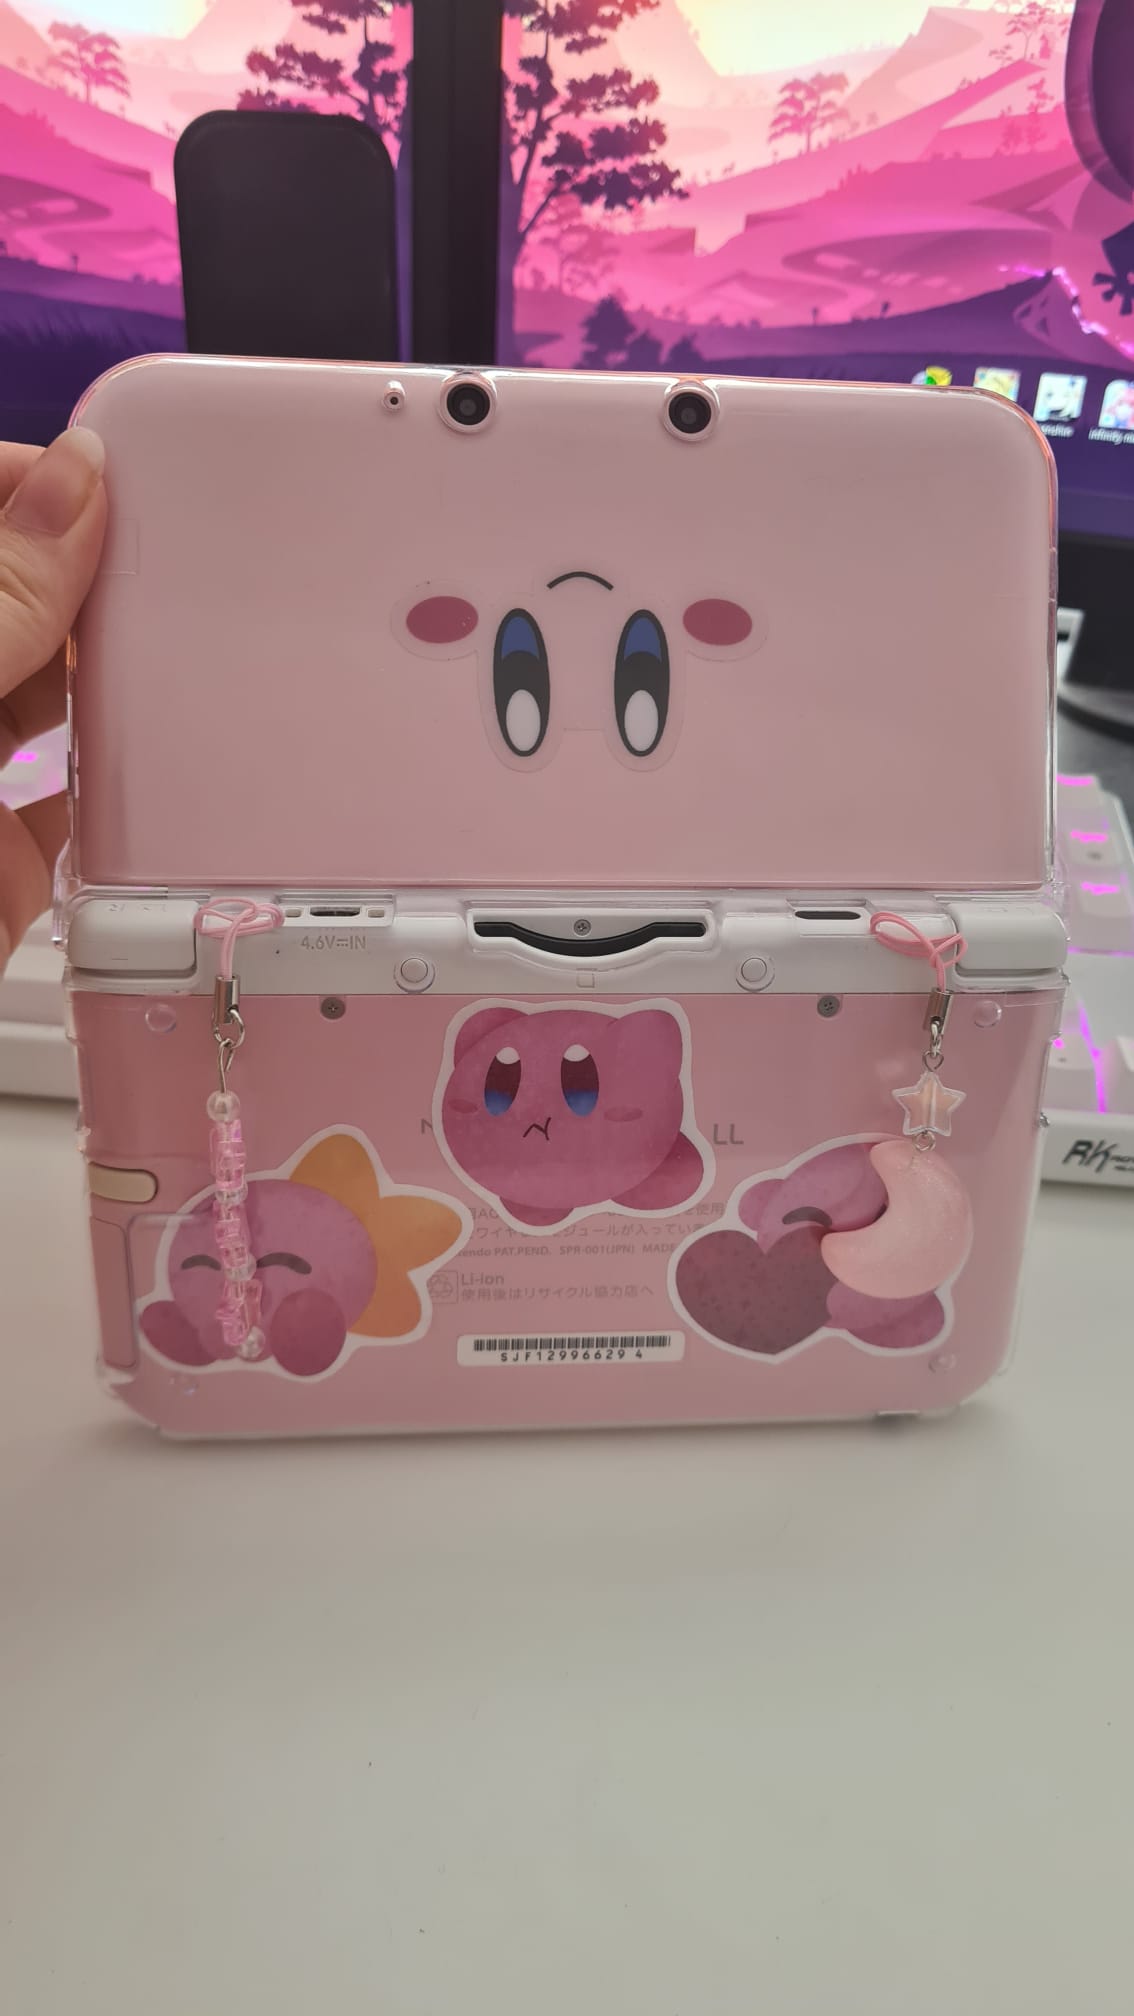
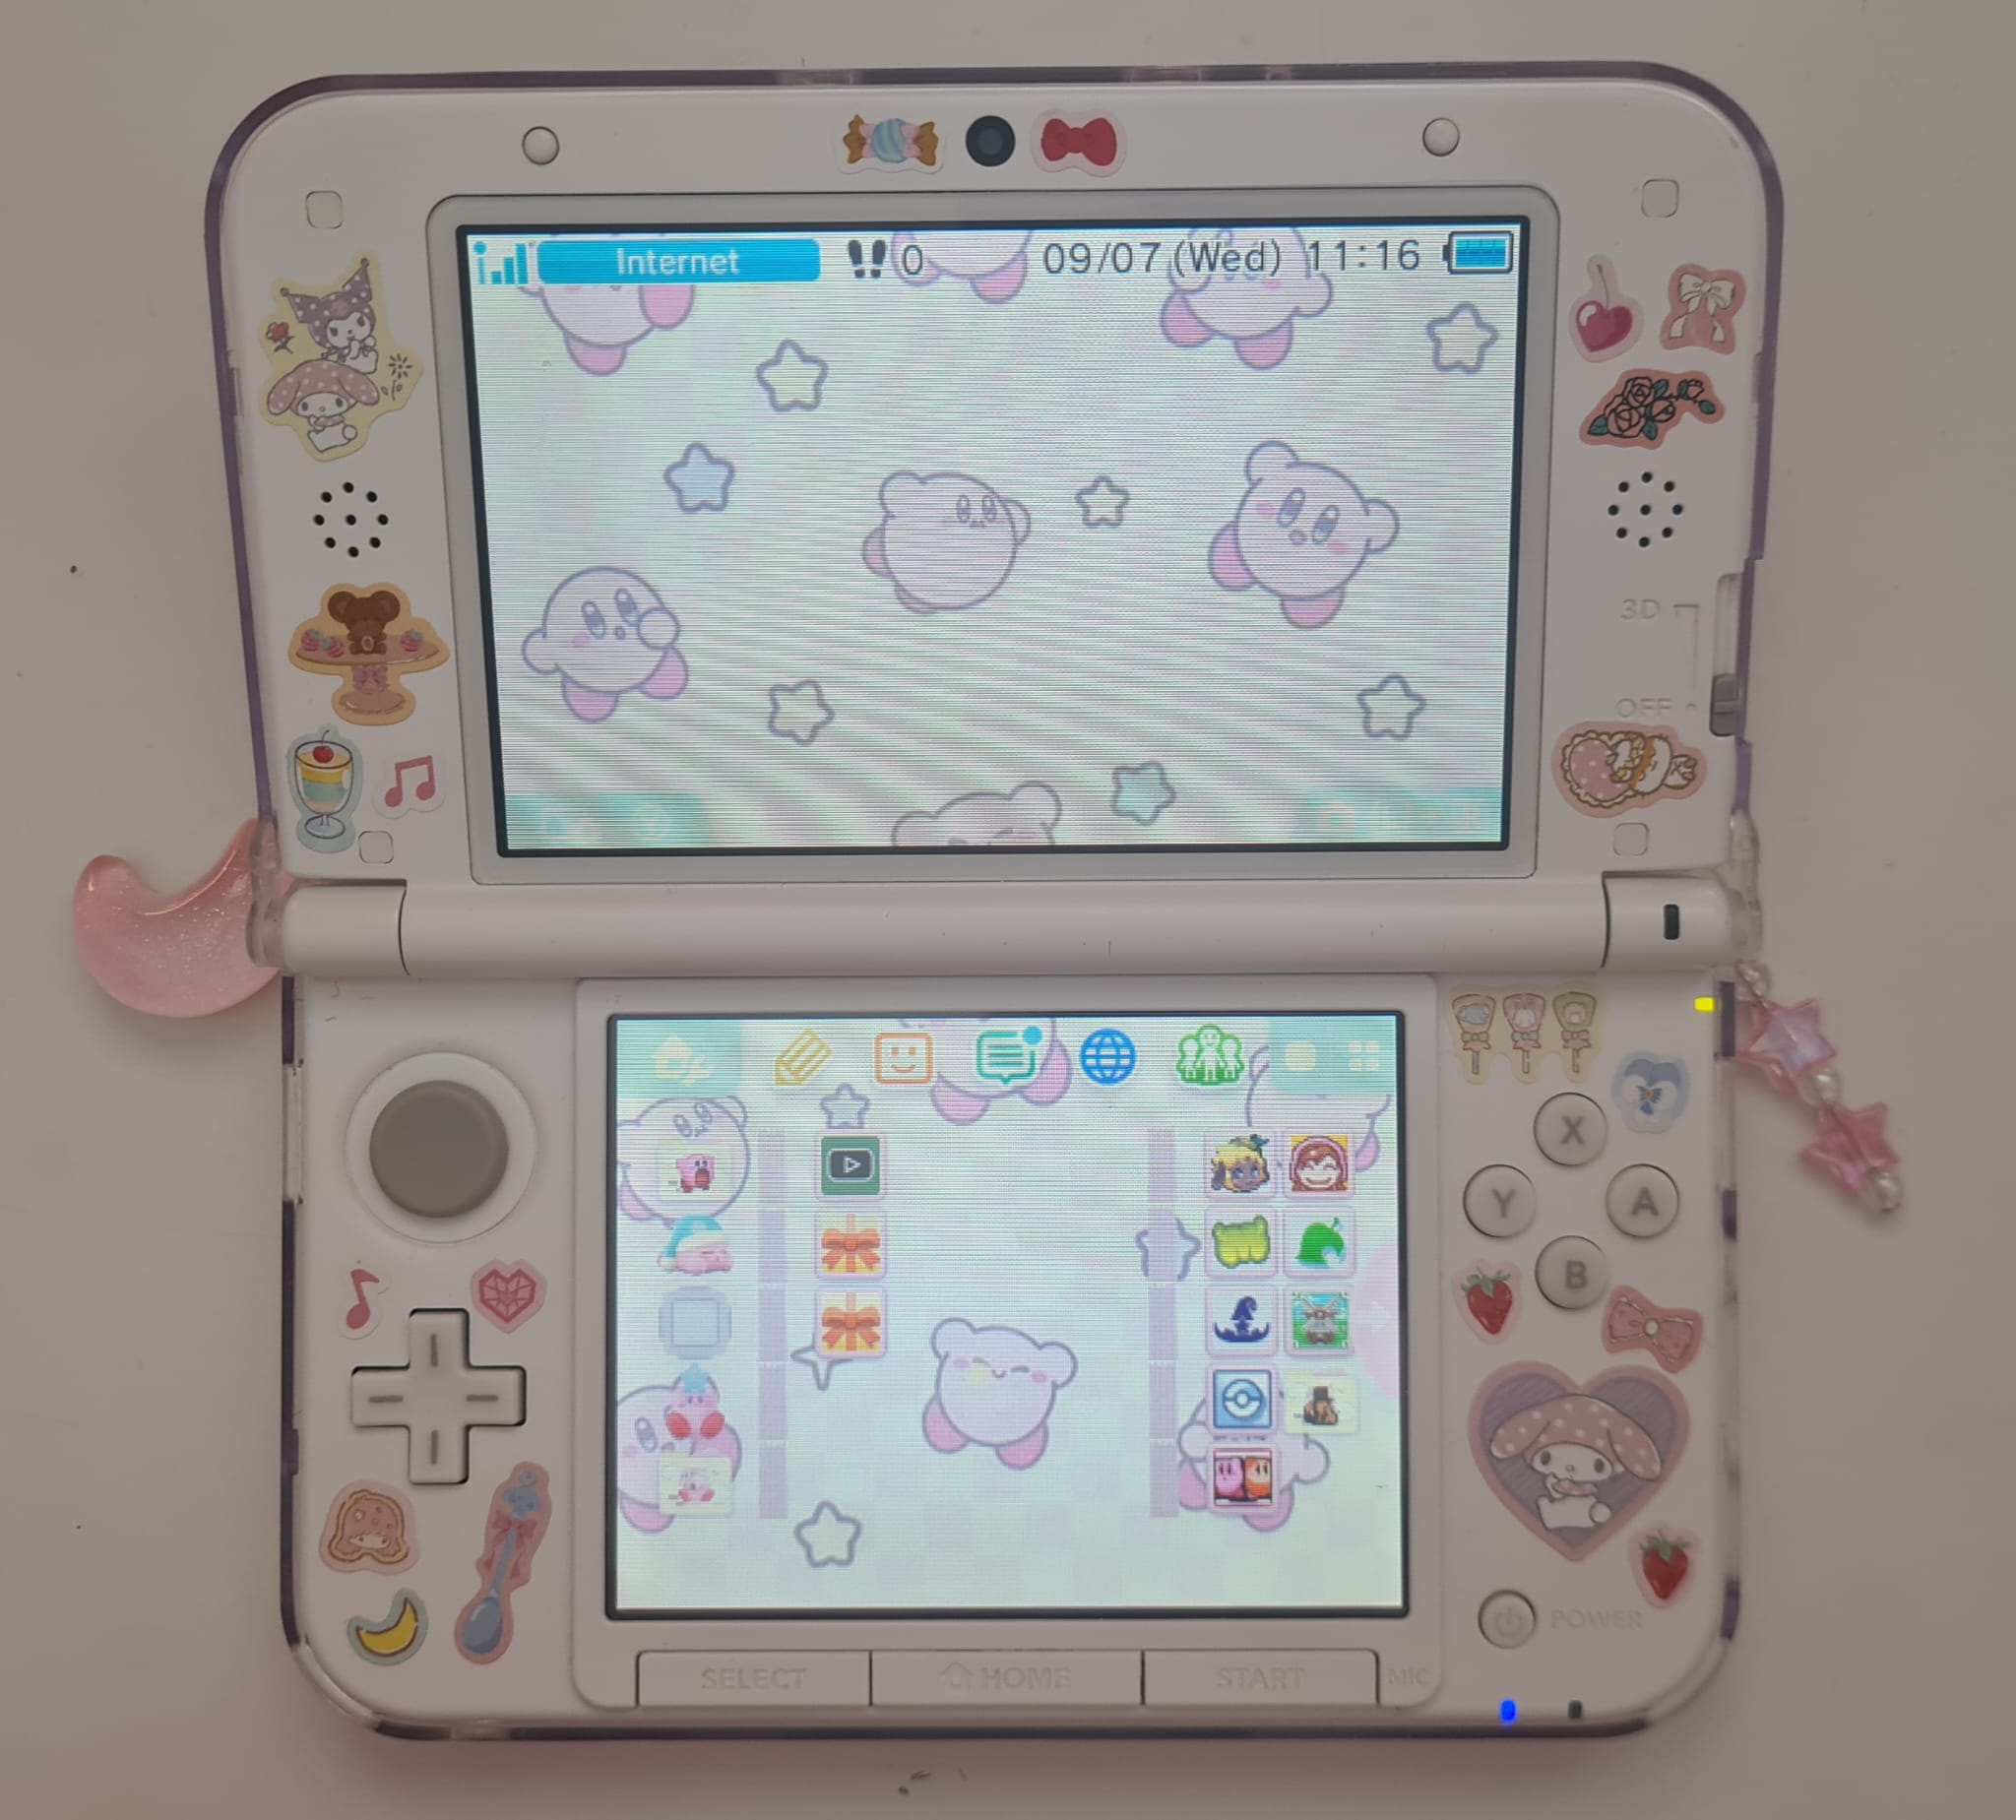
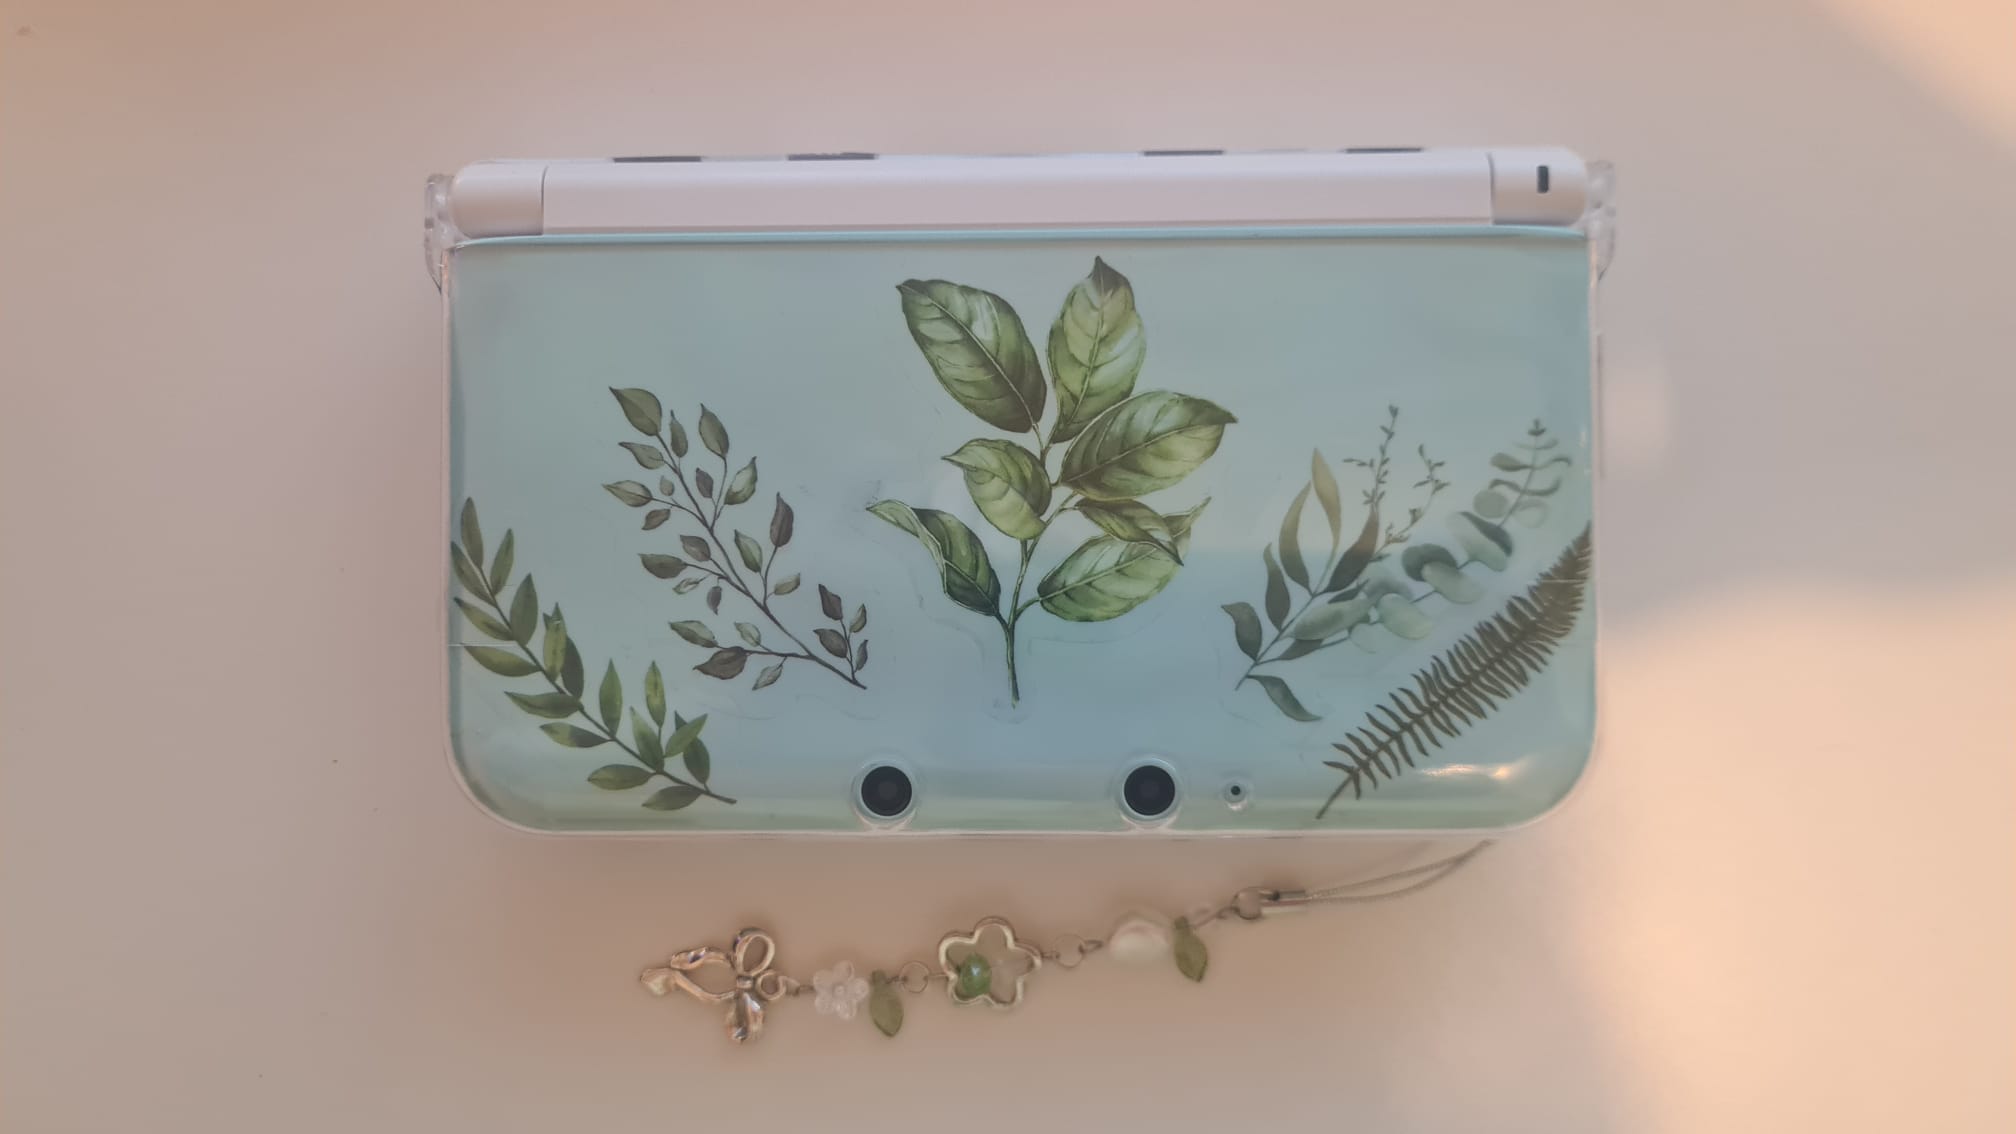
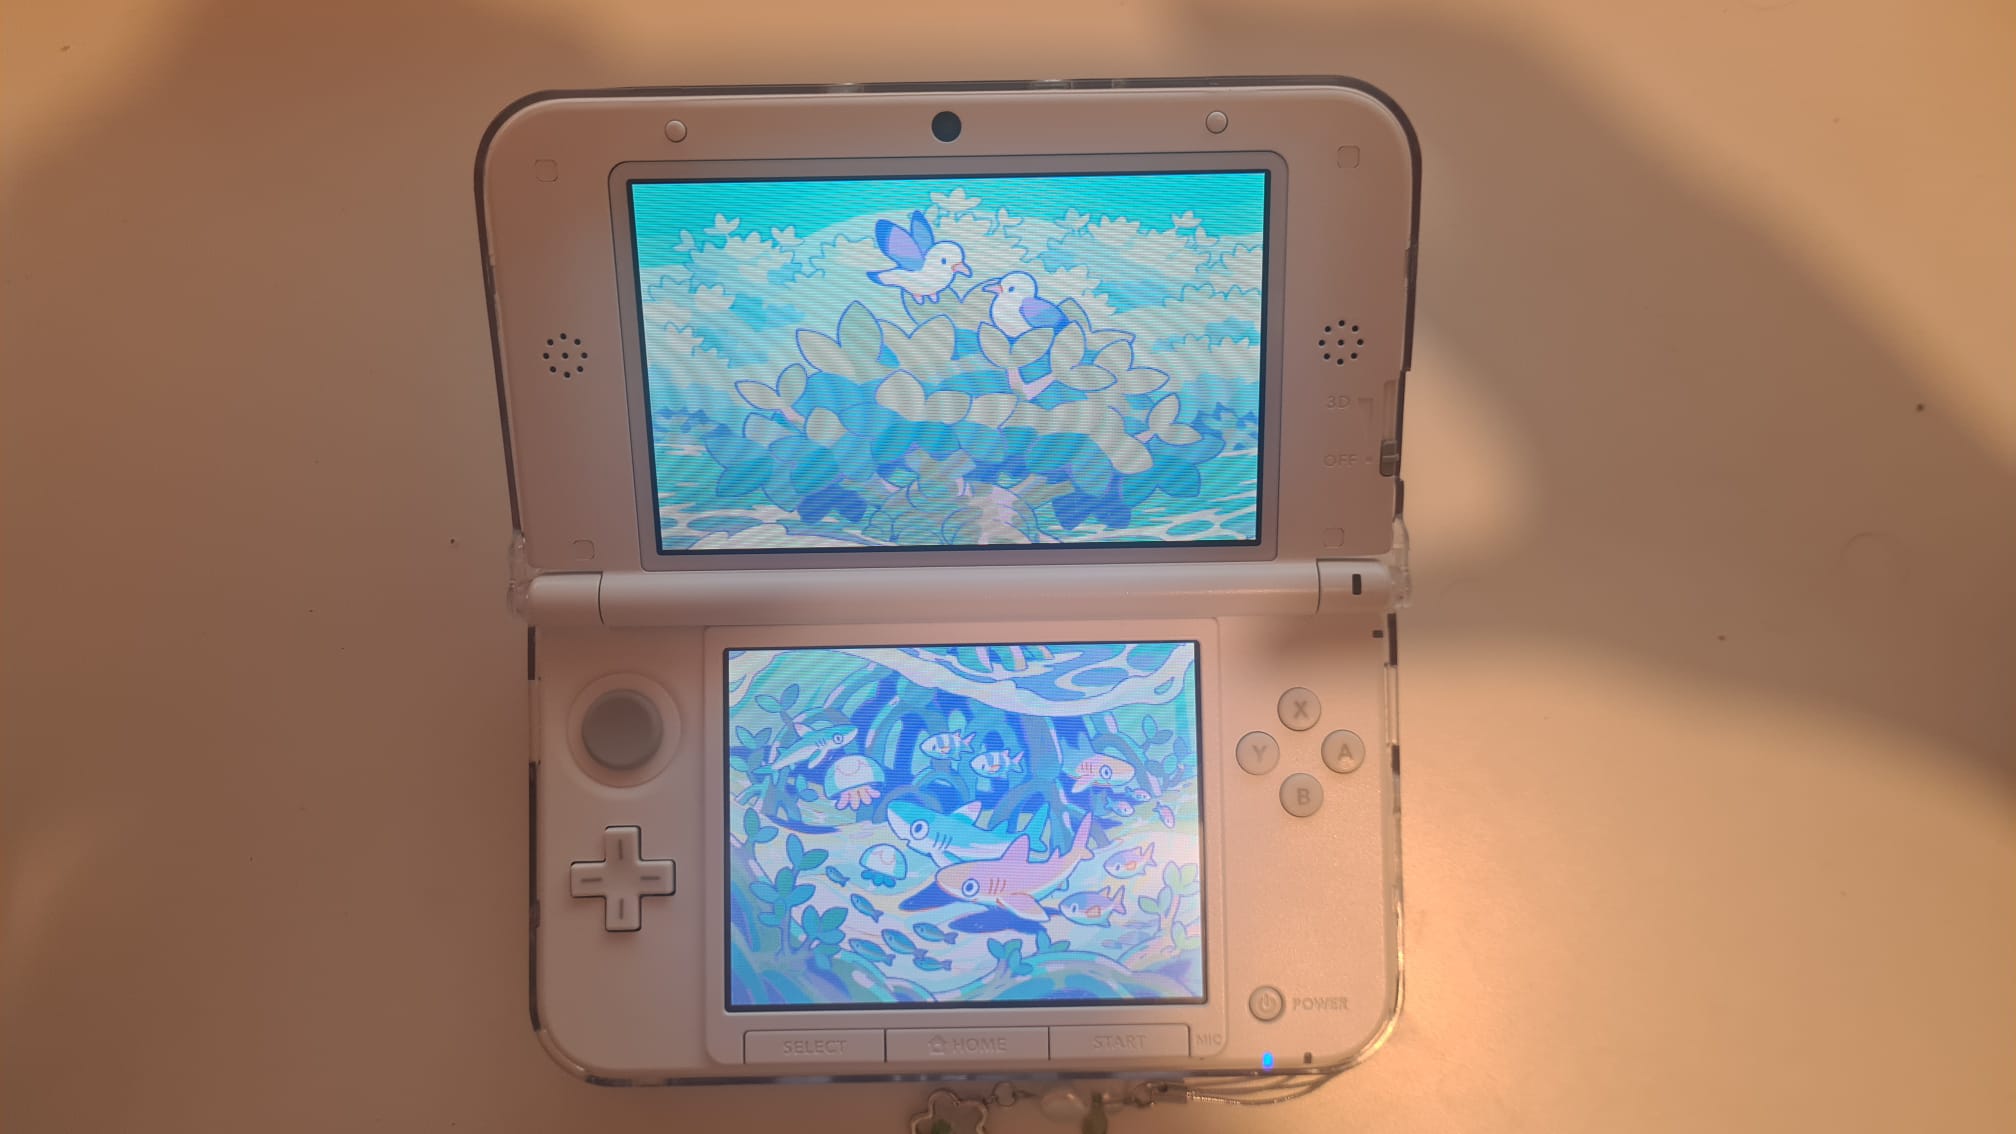
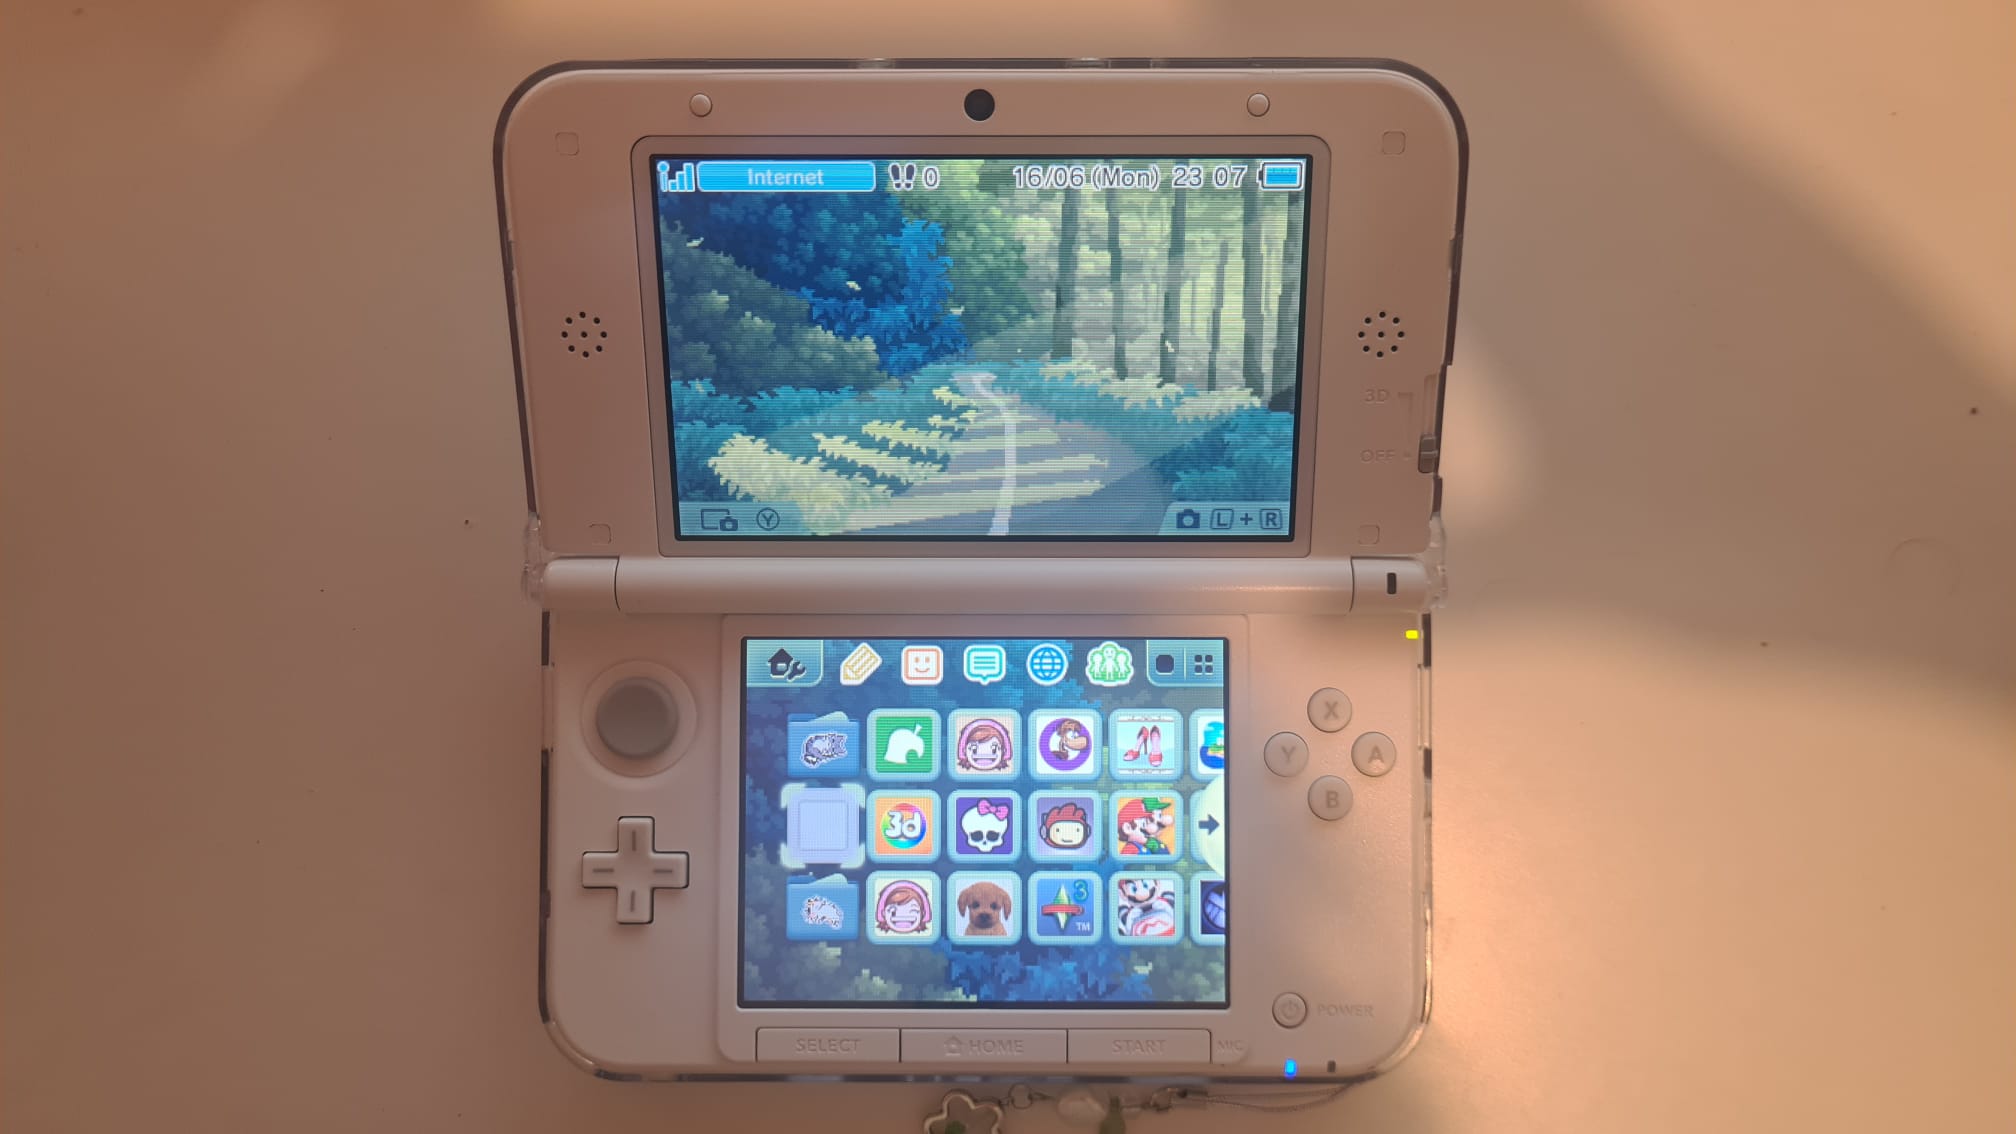
(images below of 2/5 of the 3ds LL's I've modded :3)

- CFWing the 3ds
- Region changing the 3DS
- Reformatting the 3DS
- Reinstalling the modded apps
- (optional) To emulate any other consoles (such as nds or gba games) you will also need a fix for Twilight++
- (optional) other modding-related tutorials towards the end
This tutorial primarily focuses on the LL edition of the 3ds, not the "new 3ds LL" however, as it doesn't seem to be affected. I have yet to try this on the original 3ds either. This is going to be demonstrated on Windows.
CFWing the 3DS
Pre-Requirements
- Japanese 3ds with charger
- SD card (32GB is a good size if you plan to download a good amount of games. 128gb is pretty much the biggest you'd need for an overkill amount of games and just to play around with)
- SD card reader to plug into your computer
- Internet connection
Formatting the SD card
- Connect the SD card reader to your computer if it doesn't have one already
- Format the SD card into fat32 using Windows if the SD card if 32gb or less
- If not, download guiformat from guiformat.com as Windows doesnt support more than 32gb fat32 formatting of drives.
- Just to be safe you might want to check to disable the "quick format" option especially if the SD card has had a previous use before this
- Make sure you close all file explorer tabs before proceeding or you will get an error,
- I would also recommend temporarily disabling sleep mode (after inactivity) on your computer already for the meantime if it isn't already as if you're leaving your computer to wait for the format and it goes into sleep mode, peripherals may disconnect and cause issues with the reformatting
Update and check system version
- Put the sd card into the 3DS
- Connect it to the internet
- Update 3DS via the “system update” button in settings
- Go back into settings
- Take note of the version in the format 12.34.5-67A, with the last letter relating to the region
Downloading Mset9
- Turn off the ds
- Take out sd and plug it into computer
- There should now be a “Nintendo 3ds” folder on the root of the SD card
- Download the mset9 zip file from github
- Unzip the file and drag all the contents into the root of the sd card
- Download python3
- Run the .bat file
Creating Mset9 ID
- Press corresponding number based on the firmware of your 3DS
- Press 1 to create Mset9 ID1
- Confirm
- Press enter to exit
Preparing for Mset9
- Take sd card out of computer and put it back in 3ds
- Launch mii maker
- Exit
- Go to settings
- Navigate to Data Management > 3ds > Software> Reset Software
- Turn 3DS off
Checking readiness for Mset9
- Take out sd card and put it back in the computer
- Run the .bat
- It should say Current mset9 state: Ready
- Type 0 to exit
Injecting Trigger File
- Put the SD card back into 3DS
- Boot the 3DS
- If hovered over settings, continue, if not, hover on settings then turn the console off and on again
- Go to settings and go to Data Management > 3DS > Extra Data
- With the 3DS still on, take out SD card and put it in the computer
- On the computer, click on the .bat file and input your corresponding number
- Press 3 for inject trigger file, then enter to exit
- Put the sd card back into the 3ds
Installing CFW on the 3DS
- Mset9 should load on the SD card, just follow the arrows at the top of your screen to verify and back up NAND files. (These are VERY important as are needed to return your 3DS to a stable state if any errors were to occur)
- It will then take you to the luma3ds configuration menu, scroll down to save and exit
- Scroll down and press save and exit
- When the 3ds starts up, turn it off
Removing Mset9 from sd card
- Put the SD card back in computer
- Run the .bat file
- Press your corresponding number
- Current mset9 state should say injected
- Press 4 to remove the trigger file
- Press 5 to remove mset9
Finalising
- Download x_finalize_helper.firm and finalize.romfs
- Drag finalize.romfs to the root directory
- Drag x_finalize_helper.firm into /luma/payloads
- Take out the SD card and put it back into the 3DS
Rosalina menu
- Navigate to the Rosalina menu using Left shoulder + D-pad down + Select
- Go to Miscellaneous Options > Dump dsp firmware
- Press b to go back
- Press nullify user time offset
- Turn off the console
- Hold x button
- Press the on button while continuing holding down the x button
Godmode9
- It should now have loaded into godmode9
- Create any essential files if prompted
- Press a to set date and time if prompted
- Press the home button
- Navigate to Scripts > Finalize
- Press a button and follow the D-pad key combo to confirm the NAND backup (backup of the Japanese NAND incase something goes wrong)
Saving the Japanese NAND
- When you reach the setup complete screen, press a to turn the 3DS off
- Take the SD card out and put it back in the computer
- Navigate to /gm9/backups and copy out the 3 files there to save your Japanese NAND backup
- Then delete the 3 files from your 3ds in /gm9/backups
Region changing the 3DS
Region change
- Download region changing files from 3DS Hacks Website (so download the EUR labelled file to switch from JPN->EUR)
- Unzip it to the root of the SD card
- Put the SD card back into the 3DS and hold start to boot into godmode9
- Go to root> ..ctrtransfer_n3ds.bin and press a
- Go to CTRNAND options > Transfer image to CTRNAND
- Follow the D-pad key combination
- Press the home button
- Navigate to Scripts > gm9megascript> Backup Options >sysNAND backup and press a to continue
- Press a button and do the D-pad key combos to confirm the NAND backup (backup of the English NAND incase something goes wrong)
- Turn off the console and move the SD card to the computer
- Navigate to /gm9/out and copy out the 3 files to save your English NAND backup to somewhere safe on your computer
- Then delete the 3 files in /gm9/out from your 3ds
Faking tickets
- Download faketik.3dsx
- Drag it to the /3ds directory on your SD card
- Take out the sd card and put it back into the 3DS
- Boot up your system and update when prompted
- Go to download play
- Go to rosalina menu (left shoulder + d-pad down + select)
- Navigate to Miscellaneous options> Switch the hb. title to the current app
- Press b to quit the menu
- Exit the app and close
- Reopen download play
- Press faketik
- Once faketik has done, quit and return to the home menu, and the hacked apps should return (means it can be changed to english in language settings and also means compatible with any eu game cartridges)
Reformatting the 3DS
Formatting System Memory
- Go to settings and navigate to other settings > format system memory
- Reset up your profile and wifi again
- Turn off the 3ds and put the sd card in your computer
Reinstalling the modded apps
Install the 3DS Starterpack
- Download 3ds-starterpack from thislink(not any of the updaters)
- Extract and replace all files in the root
- Put sd card back into 3ds
- Boot up and choose settings: splash and external firms choices here nowhere else
- Go to Download Play
- Go to Rosalina Menu (left shoulder + d-pad down + select)
- Navigate to Miscellaneous options>Switch the hb. title to the current app
- Press b to quit the menu
- Exit the app and close
- Reopen Download Play
- If you see the FBI application, dont click it
- Open the Rosalina Menu
- Select Miscellaneuous options > Dump dsp firmware
- Press b to go back
- Press nullify user time offset
- Press b to get back to the homebrew launcher
- Press FBI
- Navigate to sd/cias/
- Press current directory and select install and delete all cias
- Open all the wrapped apps
- Power off the console
Finalising
- Hold start while powering on the console to load into Godmode9
- Press the Home button and choose Scripts
- Select GM9MegaScript
- Select Scripts from Plailect's Guide
- Select Setup Luma3DS to CTRNAND
- Press the A button twice,then enter the combo keys to continue
- Press the A button to go back, then select Cleanup SDCard
- Select the a button then the A button again
Last SysNAND backup
- Press the B button to go back, Select backup options and then select SysNAND Backup
- Press the A button to continue, press the B button to go back then select Exit
- Press A to relock the NAND
- Get to the SysNAND Virtual Partition , select the essential.exfs file, then copy it to the GM9/OUT folder
- Press the Home button then choose Power Off
- Remove the SD card from the console and plug it into your computer
- Copy the NAND backup from /gm9/out to a safe place on your computer
- Insert the SD card back into your 3DS
^ Some of the many helpful resources used for the modding
Post-Setup Optional Tutorials
- Downloading and emulating NDS games
- Playing online/with friends over the internet (Pretendo Network)
- Installing Custom Themes/Splashes
- Installing Custom Badges
- Local FTP server
- hShop
Downloading and emulating NDS games
To download any NDS games you will need to install a fix for the Twilight++ app due to the region change.- If you don't already have it, download Twilight++ from the Universal Updater app
- It should prompt for a new directory ROMS to be created so confirm it
- This is where you will need to drop your .nds games into it (/ROMS/nds)
- Download TWLFix
- Add TWLFix to the /3ds directory on the SD card
- Update system software (important !)
- You can now emulate games through Twilight++
- If you wish to have access to the titles on your homescreen, you can install NDS Forwarder via Universal Updater (should look like a narwhal)
- It is installed as a .3dsx file, so you will need to open the homebrew app to launch it
- Select NDS Forwarder Generator
- Select Install All nds to add them as titles
Playing online/with friends over the internet (Pretendo Network)
Since the nintendo online servers have shut down, you are only able to play online through fan-made virtual networksInstalling Custom Themes/Splashes
- Press the top left on-screen button in the menu and change your default theme to any temporary one so that the necessary theme files can be made
- Navigate to ThemePlaza to find themes, splashes
- Open the Anemone app on your 3ds (or download via universal updater)
- Press the R button to open the camera to scan the QR code of any chosen splash/theme
- If you download a splash, after you download and select a splash, you will want to turn off the console, then hold select while booting to load into the luma3ds menu where you can enable the splash (I would change fromOff()toAfter(x))
- If you want to make your own theme/splash, you can use the 3ds Theme Editor
Installing Custom Badges
- Navigate to ThemePlaza to find badges
- You can download these badges and unzip them (you can delete the preview.png)
- Badges can also be made very easily, as they are just 64x64 pngs if you wish to add your own
- Download GYTB from Universal updater app
- Make a folder on the sd card called badges: /badges
- Drop all of your badges into here
- Open GYTB and it should find and install all your badges for you
Local FTP server
To modify data post-modding without the need to take out the sd card or have an SD card reader, FTP is especially useful. You can download and add badges/games to your 3DS via your phone/pc over a local network- FTPD should already be installed (if not, it's on universal updater)
- Open FTPD
- Your 3DS and your other device will need to be connected to the same network
- Install an FTP app on your device (I recommend winscp for windows and RS file manager for android)
- Inputs:
- Protocol: FTP
- Host: (ip given on 3ds screen) typically 192.168.1.***
- Port: 5000
- Credentials: Anonymous login (username and password should be empty)
Playing 3DS games after eShop closure (hShop)
- Navigate to the hShop website Open FBI on your 3DS and selectRemote Installand scan the QR code displayed
- hShop should now be installed as a title
(images below of 2/5 of the 3ds LL's I've modded :3)
Media: